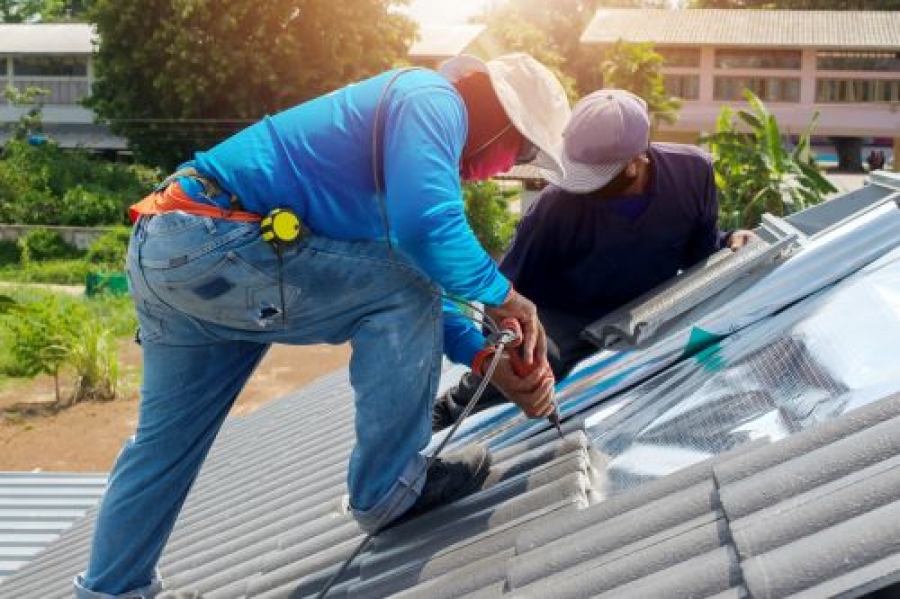
When the rain starts pouring, the last thing you want to worry about is whether your sanctuary, your home, is going to withstand the deluge without springing a leak. A leak-proof roof isn’t just a comfort; it’s a necessity for protecting your home’s structure, your belongings, and your peace of mind. In this comprehensive guide, we’ll walk you through the essentials of leak-proof roof installation, ensuring your home stays dry and cozy, rain or shine. Looking for a reliable local roofer who can transform your roofing woes into a peace of mind? At Taylor Made Services Roofing, INC, we’re not just any roofing team; we’re certified professionals committed to excellence. From Mobile & Baldwin Counties in AL to George and Jackson in Mississippi, our highly trained master shingle applicators are ready to tackle your roofing challenges with precision and pride. Don’t let an old roof dampen your home’s potential. Click here to discover how our experts can elevate your home with our tailored roofing solutions today!
Understanding the Basics of Leak Proof Roof Installation
Leak-proofing your roof starts with understanding the components and techniques that ensure water stays out. Here’s what you need to know:
Materials Matter
- Asphalt Shingles: Popular for their affordability and effectiveness.
- Metal Roofing: Offers durability and a long lifespan.
- Rubber Membranes (for flat roofs): Excellent for preventing leaks.
Techniques for Success
- Proper Installation: The first line of defense against water intrusion.
- Underlayment: A water-resistant or waterproof barrier.
- Flashing: Critical for directing water away from vulnerable areas.
The Importance of Maintenance
- Regular inspections can catch potential issues before they turn into costly repairs.
- Clearing debris from gutters and downspouts prevents water backup.
Step-by-Step Guide to Installing a Leak-Proof Roof
Creating a leak-proof roof involves several key steps, each crucial for ensuring the integrity of your roofing system.
Step 1: Choose the Right Materials
Select materials based on your climate, roof pitch, and aesthetic preference. Consult with a professional to make an informed decision.
Step 2: Ensure Proper Insulation
Good insulation is critical for preventing ice dams, which can cause water to back up under the shingles.
Step 3: Install a Water-Resistant Underlayment
This is your roof’s second line of defense against water. It’s particularly important in areas prone to heavy rain or snow.
Step 4: Pay Attention to Flashing
Areas around chimneys, vents, and where the roof meets a wall are particularly susceptible to leaks. Proper flashing is non-negotiable.
Step 5: Regular Maintenance
Post-installation, keeping your roof in top shape is essential. This includes cleaning, inspections, and timely repairs.
FAQs on Leak Proof Roof Installation
What is the best material for a leak-proof roof?
While there’s no one-size-fits-all answer, materials like metal roofing and rubber membranes are known for their durability and resistance to leaks.
How often should I inspect my roof?
At least twice a year, ideally in the spring and fall, to address any damage before extreme weather conditions.
Can I install a leak-proof roof myself?
While DIY projects can be tempting, roof installation requires expertise. It’s best left to the professionals.
Summary
A leak-proof roof installation is your home’s best defense against the elements, protecting not just the structure but also the cherished moments that take place within. By choosing the right materials, employing proper installation techniques, and committing to ongoing maintenance, you can ensure your home remains a safe haven for years to come. Remember, when it comes to your roof, cutting corners today can lead to significant expenses down the line. So, let’s button up your home with a roof that’s built to last and designed to defend against even the most relentless rain.


